
You’ve found the perfect scene. The light is magical, your composition is spot-on, and you press the shutter with a smile. But when you check the screen, your heart sinks. A strange, hazy glow or a series of ghostly orbs has invaded your shot, stealing clarity and contrast. Sound familiar? You’ve just had a run-in with Photeeq Lens Flare.
But don’t despair! Lens flare isn’t a sign of a bad photographer; it’s a simple optical effect that every photographer encounters. The good news is that with a little know-how, you can take control. This guide will walk you through what causes photeeq lens flare, how to prevent it when you want a clean shot, and even how to use it creatively to add a touch of magic to your images.
What is Photeeq Lens Flare and Why Does it Happen?
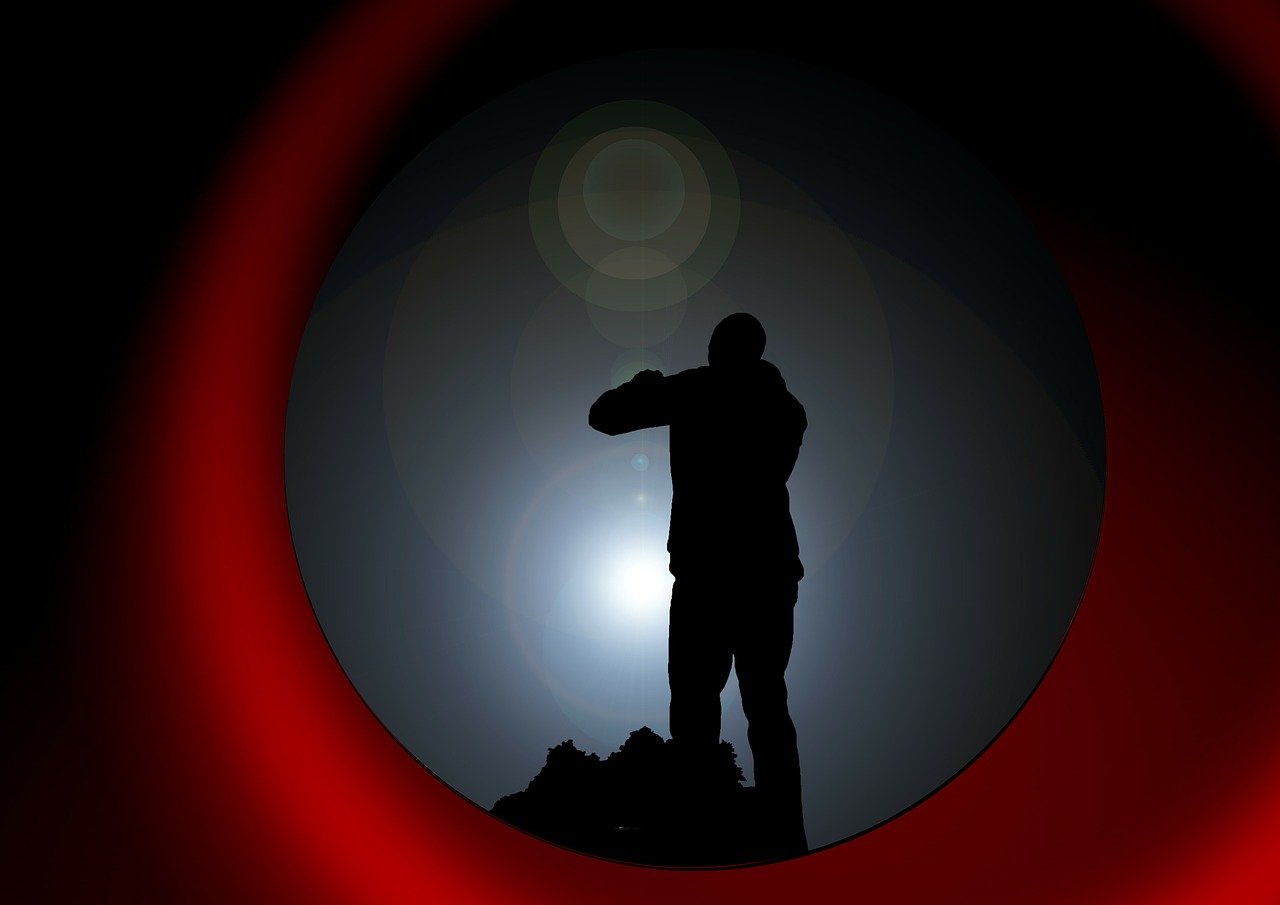
At its core, lens flare is simply unwanted light bouncing around where it shouldn’t inside your camera lens. When a bright light source—like the sun, a streetlamp, or even a strong reflection—hits the front of your lens, it doesn’t always travel in a straight line to the sensor. Instead, it reflects off the internal glass elements, creating those characteristic artifacts we know as flare.
The Science Behind the Glare
Think of your lens as a complex tube of glass. Each element is designed to bend light precisely, but they can also act like tiny mirrors. When a potent light source enters at a sharp angle, it can ricochet between these elements before finally reaching the sensor. This creates two main types of flare:
- Ghosting: These are the soft, often colorful, semi-transparent blobs or circles that appear in a line across your image. Their shape is often determined by the aperture blades inside your lens.
- Streaks & Polygons: These are the sharp, starburst-like rays or geometric shapes that seem to emanate from the light source.
Common Causes in Your Photography
You don’t need to be a scientist to understand when flare is likely to strike. It often happens when you:
- Shoot directly into a bright light: The most common culprit. Positioning the sun just outside your frame is a classic way to invite flare.
- Use a lens with many elements: Complex zoom lenses are often more prone to flare than simpler prime lenses.
- Have a dirty lens: Dust, fingerprints, and smudges on your lens can scatter light more easily, increasing the chance of a hazy flare that reduces overall contrast.
Your Toolkit for Preventing Unwanted Photeeq Lens Flare
Now for the practical part. Banishing unwanted flare is all about blocking stray light from hitting your lens. Here’s your essential toolkit.
Essential Gear to Block the Light
- Use a Lens Hood: This is your first and best line of defense. That plastic or rubber ring that came with your lens isn’t just for looks. A lens hood is specifically designed to block light from the sides from striking the front element. If you’ve lost yours, it’s worth buying a replacement.
- Shade with Your Hand or a Hat: No lens hood? No problem. Simply use your hand, a piece of cardboard, or even a baseball cap to cast a shadow over the front of your lens. Look carefully at your camera’s screen or viewfinder to make sure your makeshift shade isn’t creeping into the shot.
- Invest in a Quality Filter: Cheap, uncoated filters can actually make flare worse. However, a multi-coated polarizing filter or a high-quality UV filter can help reduce reflections and glare while also protecting your lens.
Smart Composition and Technique
Gear is helpful, but technique is king.
- Change Your Angle: Often, a step to the left or right, or crouching down a little, is all it takes to move the light source out of the critical angle that causes flare. Use a tree, a building, or a person to block the direct light.
- Shoot During the Golden Hour: The sun is much lower and softer during the hour after sunrise and before sunset. This not only creates beautiful light but also makes it easier to manage compared to the harsh, high-noon sun.
- Keep Your Lens Clean: A simple habit with big rewards. Regularly use a soft microfiber cloth to gently clean your lens and filter surfaces.
When Photo Lens Flare is a Good Thing: Creative Uses
What if we told you that photographers sometimes try to create lens flare? When used intentionally, flare can add a sense of warmth, drama, and a dreamy, cinematic feel to your photos.
Intentional Flare for Artistic Effect
To create beautiful, controlled flare:
- Position the Light Source: Place the sun or a bright light just at the edge of your frame, or even partially hidden behind your subject.
- Experiment with Aperture: Different apertures will create different flare patterns. Shoot a few test shots at various f-stops to see which shape you prefer.
- Use it in Portraits: A soft flare can give portraits a romantic, ethereal, or nostalgic quality, making them feel more alive and authentic.
Post-Processing: Fixing or Enhancing Photeeq Lens Flare
Sometimes, despite your best efforts, a little unwanted flare remains. Or, maybe you want to add more in post-production.
Removing Flare in Editing Software
Removing flare can be tricky, but it’s not always impossible. In software like Adobe Lightroom or Photoshop:
- Use the Spot Removal or Healing Brush tool for small, distinct ghosting artifacts.
- The Dehaze slider in Lightroom can help restore contrast lost to hazy flare.
- For more complex flare, advanced techniques using layer masks in Photoshop may be necessary. Remember, prevention is always easier than cure.
Adding Flare in Post-Production
If you didn’t capture the flare you wanted in-camera, you can add it later. Many programs, including Photoshop and various smartphone apps, offer flare overlay brushes or filters. This gives you complete control over the look, but for the most natural result, capturing it in-camera is usually best.
Conclusion
Mastering photeeq lens flare is a powerful step in your photography journey. You’ve learned that it’s not a flaw to be feared, but an effect to be understood. You now have the tools to prevent it when it’s unwanted and the knowledge to harness it creatively when you want to add a spark of magic.
READ ALSO: How to Find the Best Florist for Weddings: What Brides Should Look For?